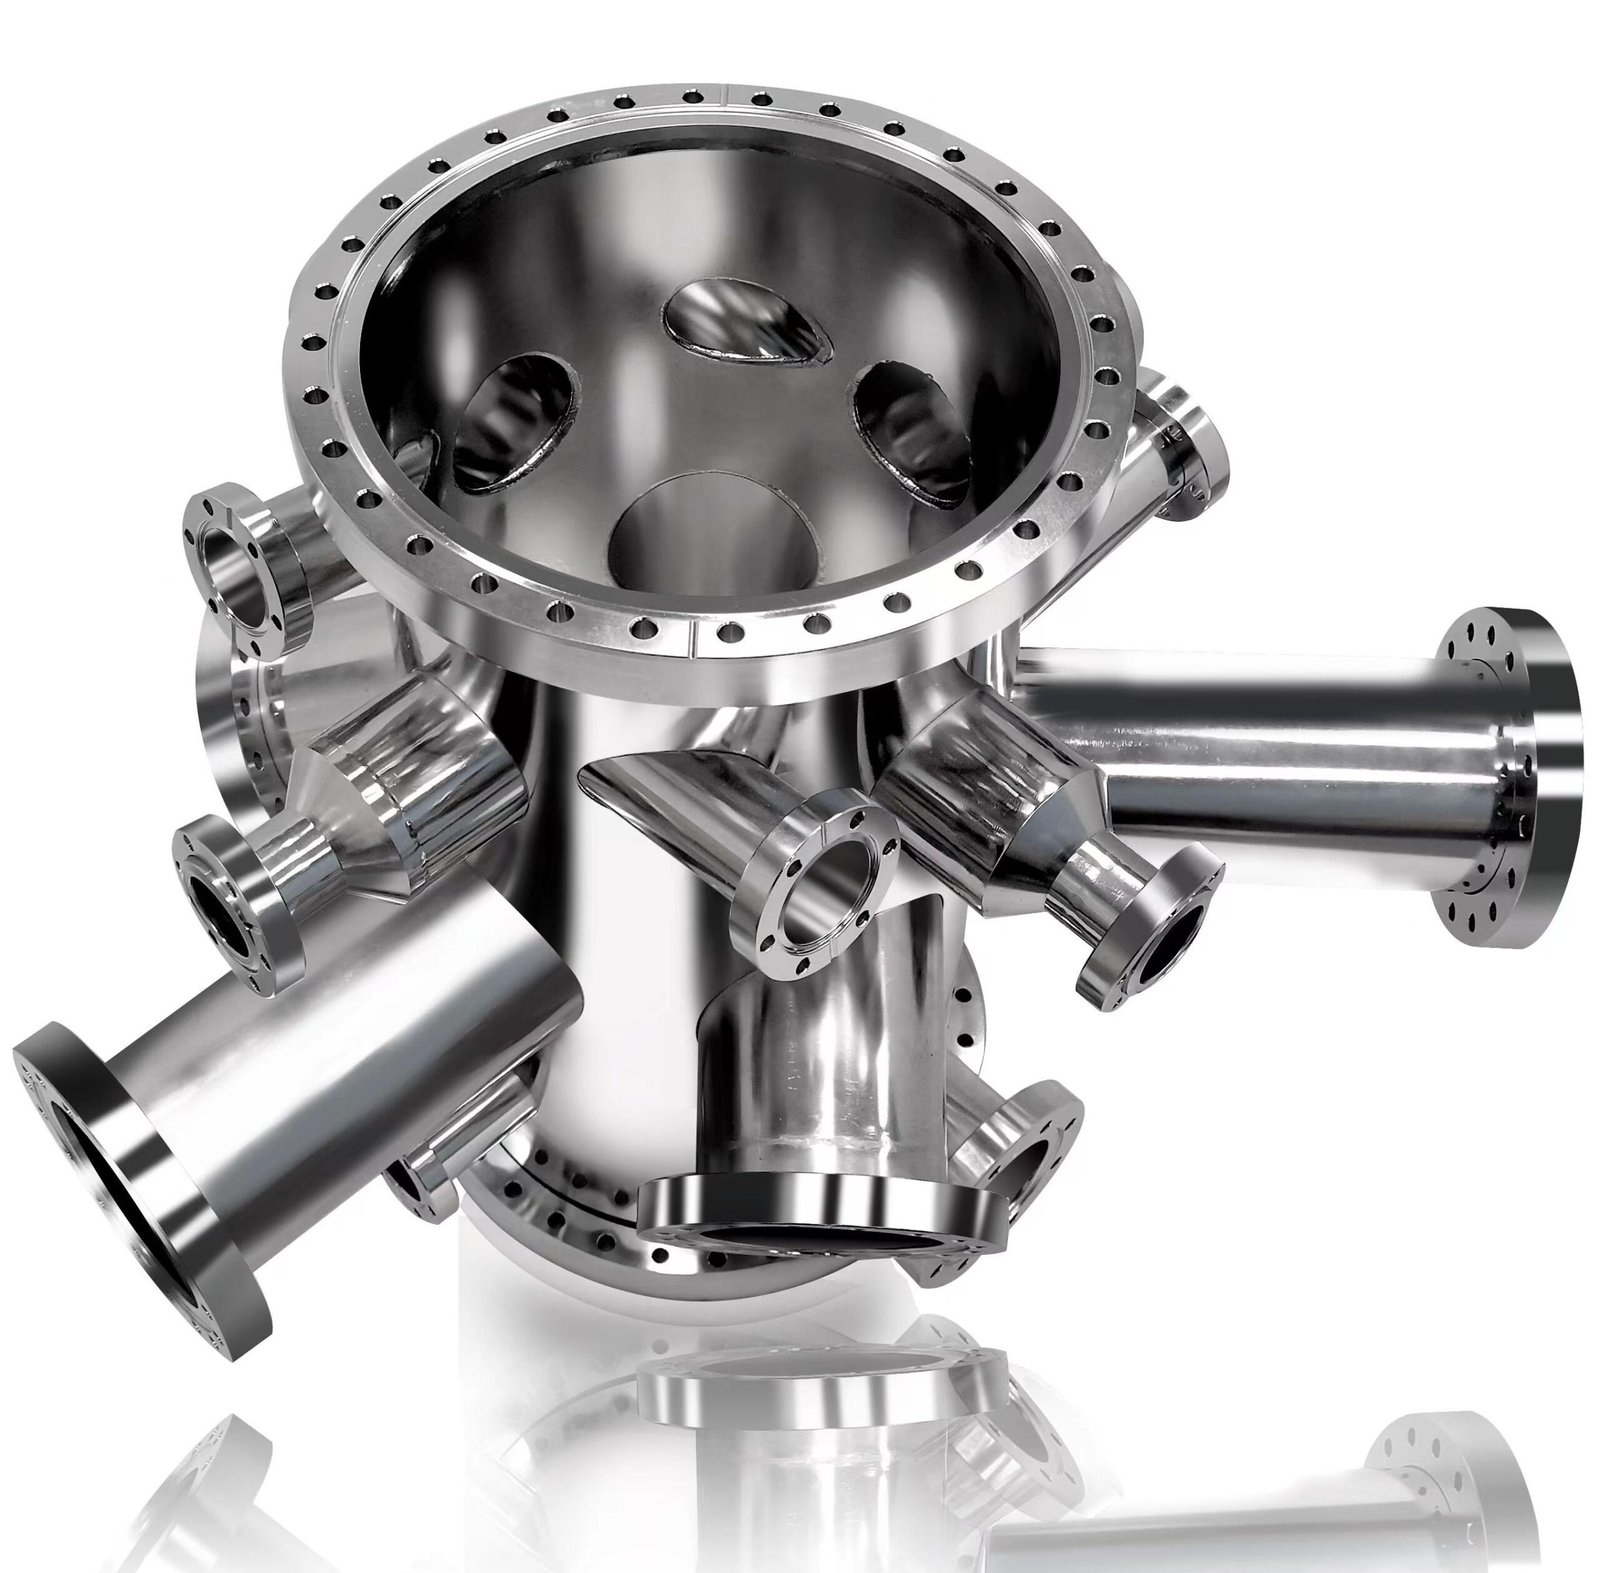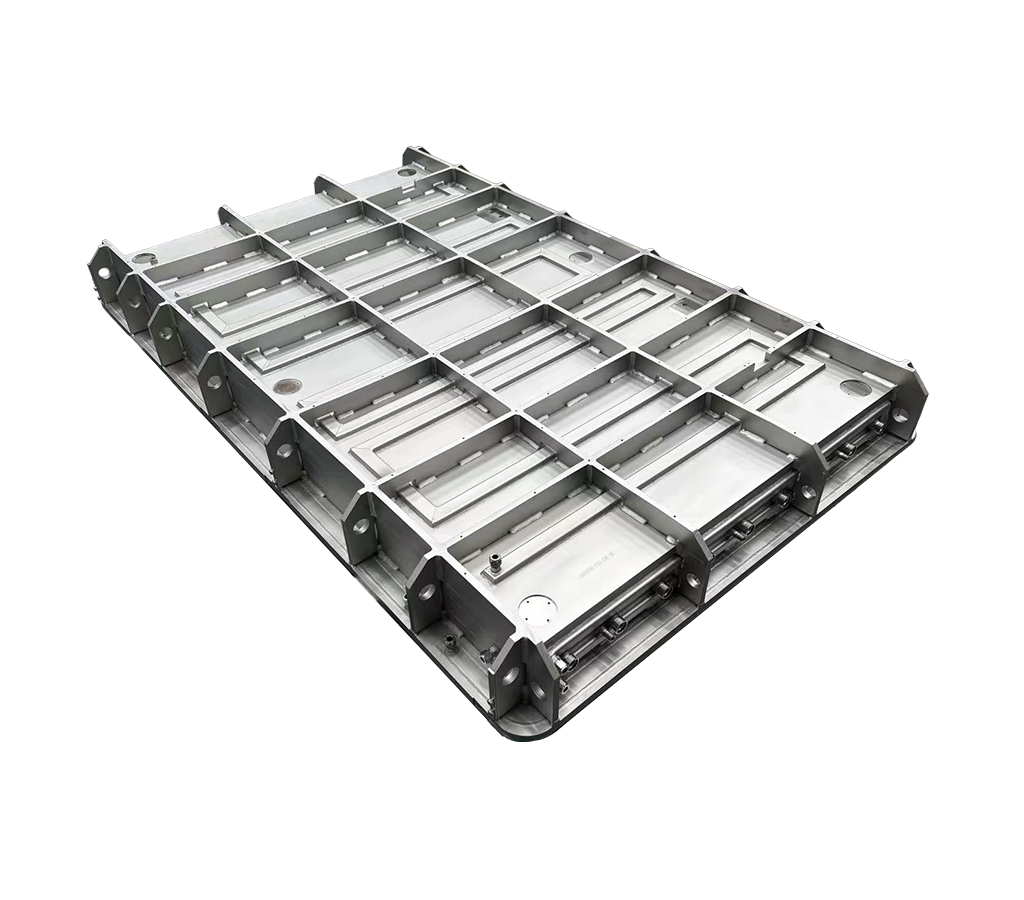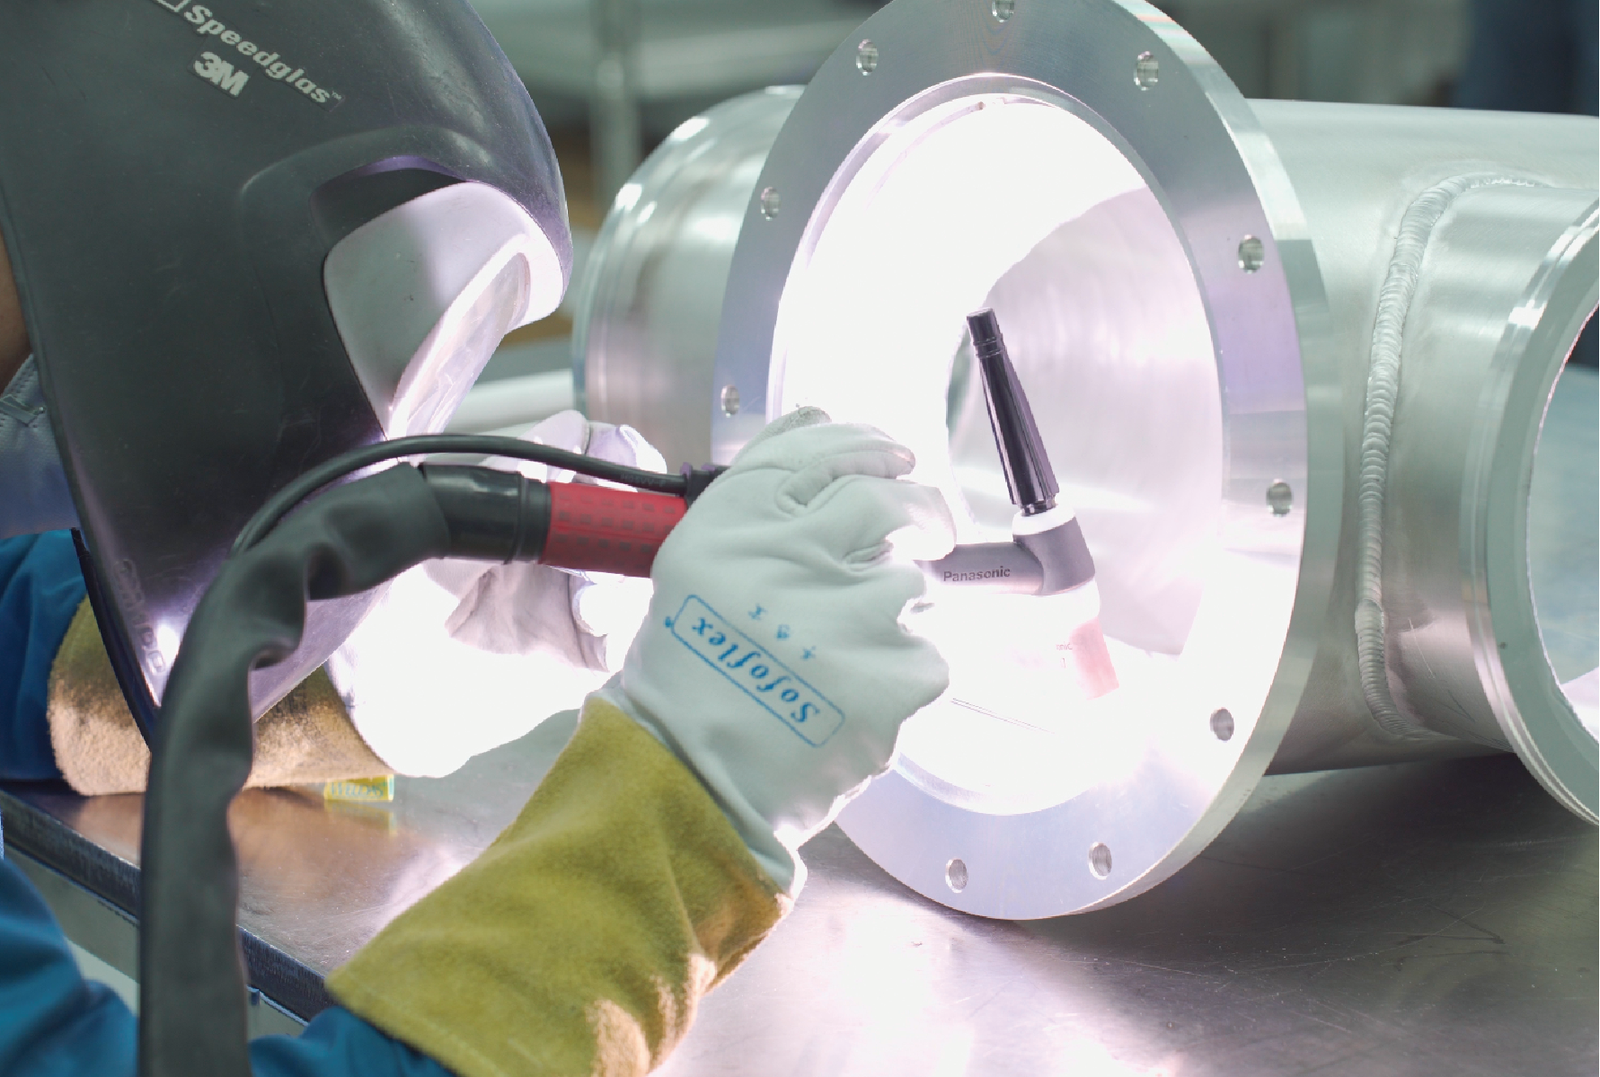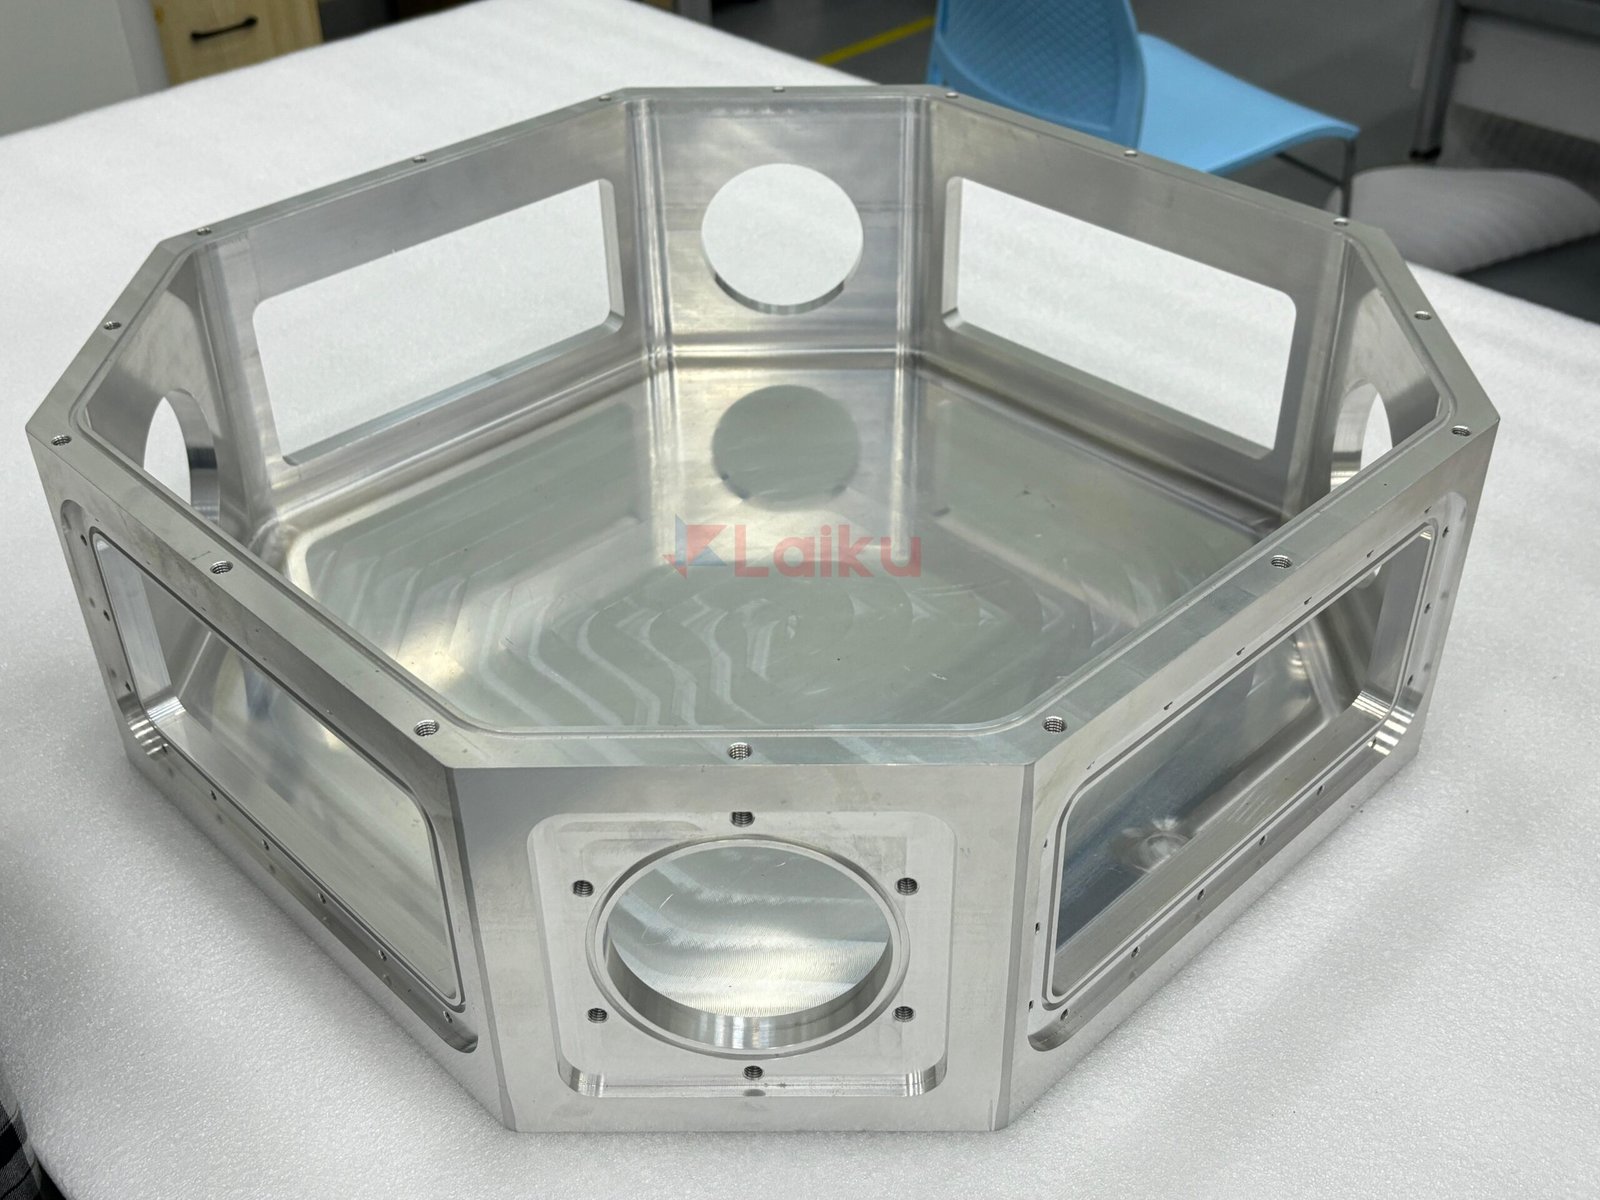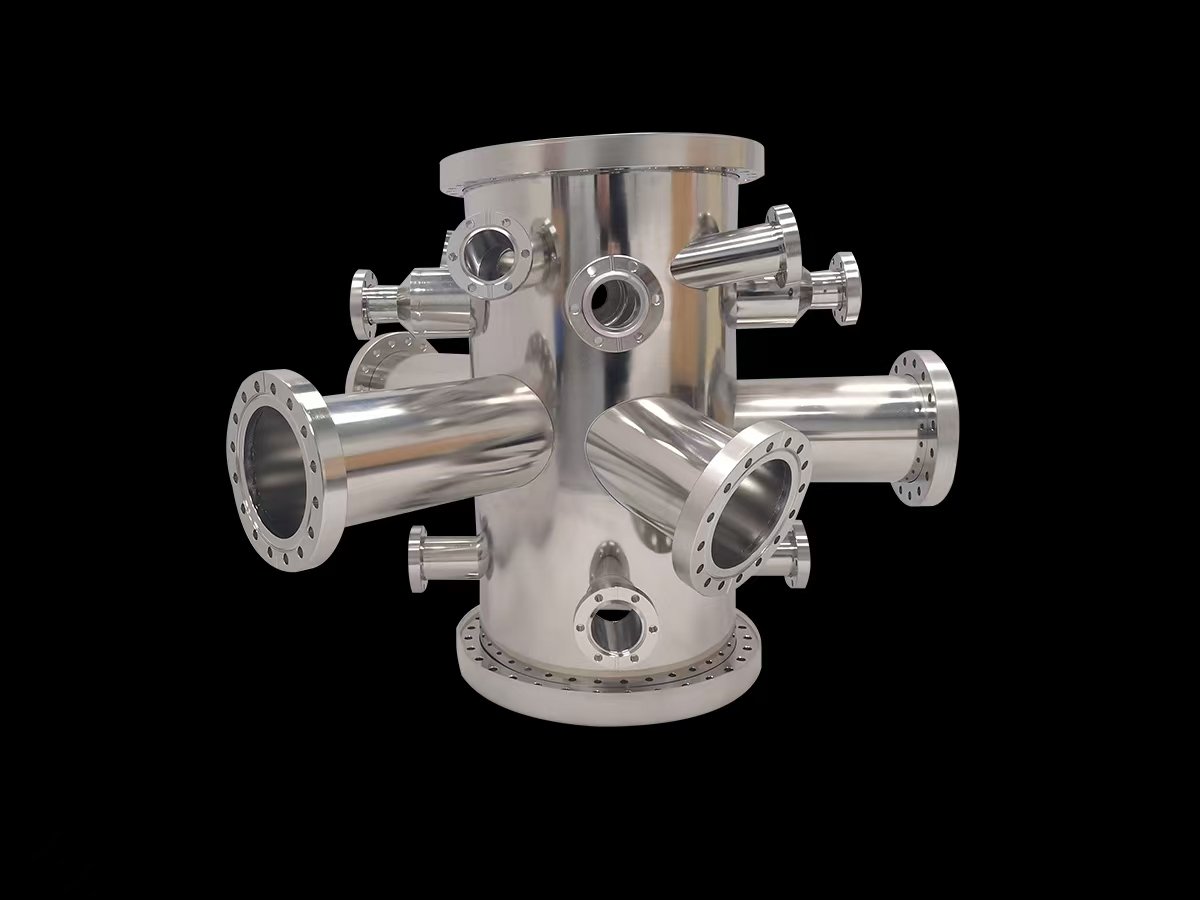


Custom vacuum chambers rarely move through a shop as quickly as standard, off-the-shelf components — and for good reason. Every project brings its own mix of dimensions, materials, ports, sealing methods, machining, welding, cleaning, and testing requirements. Each of those variables is a place where a schedule can slip or a defect can creep in.
Many purchasers mistakenly believe that quality check should only be performed once the chamber is "basically done." When seen from different perspectives, the issue of lead time and quality is really the same. Weld failures, missing tolerances, and leaks are more likely to manifest in a chamber that is only inspected at the last sign-off, when resources are at a premium. What keeps custom projects on track is managing both simultaneously, from specs to deliveries.
1. Start With a Complete, Approved Specification
After fabrication has begun, nothing may derail a bespoke chamber build faster than a specification that is still changing. Please ensure that the following are finalized and authorized before cutting any metal:
- Chamber dimensions and internal volume
- Required vacuum level and leak rate
- Operating temperature range
- Materials and wall thickness
- Ports, flanges, feedthroughs, and viewports
- Sealing method (elastomer, metal gasket, etc.)
- Surface finish
- Cleaning requirements
Just as important as defining what's needed is defining how success will be measured. That means setting measurable acceptance criteria:
Table 1: Example of a measurable acceptance criteria
| Requirement | Example Acceptance Criteria |
|---|---|
| Dimensional accuracy | Tolerances specified per feature (e.g., ±0.05 mm) |
| Leak rate | Maximum allowable rate (e.g., ≤1×10⁻⁹ mbar·L/s) |
| Surface finish | Ra value or visual standard defined |
| Vacuum performance | Target ultimate pressure and pump-down time |
| Certifications | Material certs, weld certs, NDT reports as required |
Both the customer and the schedule are safeguarded by a comprehensive, approved specification. With fewer unanswered questions throughout fabrication, there will be less need for design amendments and shop floor holdups.
2. Design for Manufacturing
Building a chamber consistently is directly correlated to its design. Overly complex geometries, those with non-standard flange sizes, or those with unrealistic tolerances raise risk without enhancing utility.
Before drawings are released to production, it's worth reviewing the design for:
- Unnecessary geometric complexity
- Use of standard flange and component sizes where possible
- Adequate machining and welding access
- Readily available materials
- Realistic, achievable tolerances
- Minimal one-off custom interfaces
A short design review – with engineering, manufacturing, vacuum, and quality personnel all weighing in before drawings go out – catches problems while they're still cheap to fix. Instead of merely asking "can this be built?" the guiding question is our main concern is if this can be constructed in an efficient and repeatable manner.
3. Plan Materials and Long-Lead Components Early
The shop floor is not where some of the most significant schedule concerns in a vacuum chamber project reside; rather, they are in the supplier's backlog. Particularly for less common sizes or specifications, specialist hardware such as stainless steel, flanges, O-rings, metal seals, viewports, feedthroughs, valves, and so on might have lengthy lead times.
Procurement should start alongside engineering, not after fabrication begins. That means:
- Checking supplier availability early
- Flagging long-lead items during the quotation stage
- Placing orders for critical components as soon as the design allows
- Maintaining material traceability throughout
- Pre-approving technically acceptable alternatives, so a substitution doesn't stall the project mid-build
4. Create a Milestone-Based Manufacturing Schedule
Rather than treating "lead time" as a single number, it helps to break it into stages that can each be tracked individually:
Table 2: Sample of a manufacturing schedule
| # | Milestone | Planned Date | Actual Date | Status |
|---|---|---|---|---|
| 1 | Requirements finalized | |||
| 2 | Design approved | |||
| 3 | Materials/components available | |||
| 4 | Machining | |||
| 5 | Welding/fabrication | |||
| 6 | Surface treatment and cleaning | |||
| 7 | Assembly | |||
| 8 | Inspection | |||
| 9 | Leak/vacuum testing | |||
| 10 | Final approval and shipment |
A manageable delivery estimate is created by assigning responsibilities, keeping track of actual and anticipated dates, and identifying risks at each stage. Even more crucially, it highlights delays early on, when there is still time to react, rather than making them apparent after the ship date has passed.
5. Apply Quality Control Throughout Manufacturing
If you do not examine quality until final inspection, whatever mistake you have found now has already been incorporated into every step downstream. By detecting issues as they arise, in-process inspections help keep costs down and problems isolated.
Machining
Check critical dimensions, port locations, flange dimensions, flatness, and surface finish.
Welding
Check weld appearance, distortion, cleanliness, and complete any required weld inspection or non-destructive testing (NDT).
Assembly
Verify correct seals, proper component orientation, fastener specifications, and correct installation of feedthroughs and viewports.
An error discovered after assembly or after testing is far more expensive than the same error caught at the machining stage – it can mean disassembly, rework, and real schedule damage. In-process inspection is what keeps small manufacturing mistakes from becoming expensive final-stage problems.
6. Plan Vacuum Testing Before Production – Not After
There should be no last-minute planning for vacuum and leak testing; rather, it should be part of the project from the very beginning.
Vacuum performance verification, including pump-down behavior, ultimate pressure, leak rate, and pressure stability, as well as appropriate leak testing (including helium leak testing when the application calls for it) and dimensional inspection against approved drawings are components of this. Cleaning methods, contamination control, handling, and packaging all have an impact on the chamber's performance after it reaches the client.
The manufacturer can better plan the necessary resources (time, people, and equipment) for testing if the testing needs are defined before fabrication starts. Instead of adding last-minute needs, testing should verify that previously established acceptance criteria have been satisfied.
7. Control Engineering Changes
Every project is unique. Dimensional, port, material, seal, feedthrough, and testing requirements are subject to change even after production has begun; without formal management, any change poses a danger to both quality and schedule. A simple change-control process keeps changes from causing chaos as shown in Figure 1.

Figure 1: Engineering change control process: from change request to controlled production release
The goal is straightforward: prevent an outdated drawing or specification from ever reaching the manufacturing floor.
8. Maintain Clear Customer-Manufacturer Communication
A surprising number of project delays trace back not to a technical failure, but to two parties working from different versions of the same document. Keeping the following synchronized between customer and manufacturer avoids that entirely:
- Approved drawings
- Bill of materials
- Revision history
- Inspection plan
- Testing requirements
- Production schedule
- Non-conformance records
For complex or high-value chambers, regular project updates are worth the time. The underlying principle is simple: maintain one controlled technical document set, so there's never a question of which version is current.
9. Final Inspection and Delivery
Always double-check the dimensions, port configuration, surface condition, cleanliness, leak-test findings, material certificates, inspection documents, and other necessary test reports before sending a chamber out. After you have made sure everything upstream is perfect, it is time to box everything properly. This will prevent the chamber from becoming contaminated or damaged while in transportation.
Conclusion
Custom vacuum chamber projects succeed when a few principles are followed together, not in isolation: clear specifications, manufacturable design, early procurement, milestone tracking, in-process inspection, planned vacuum testing, and controlled changes. Taken as a whole, they provide reliability in both delivery and quality.
Rather of slacking off on quality control, the best approach to reduce lead time is to find and fix quality problems early on in the project.