
Three factors determine the extent of shipping damage: the location of support, the strength of the ties, and the availability of pre- and post-trip measurements.
Why big chambers get hurt on the road
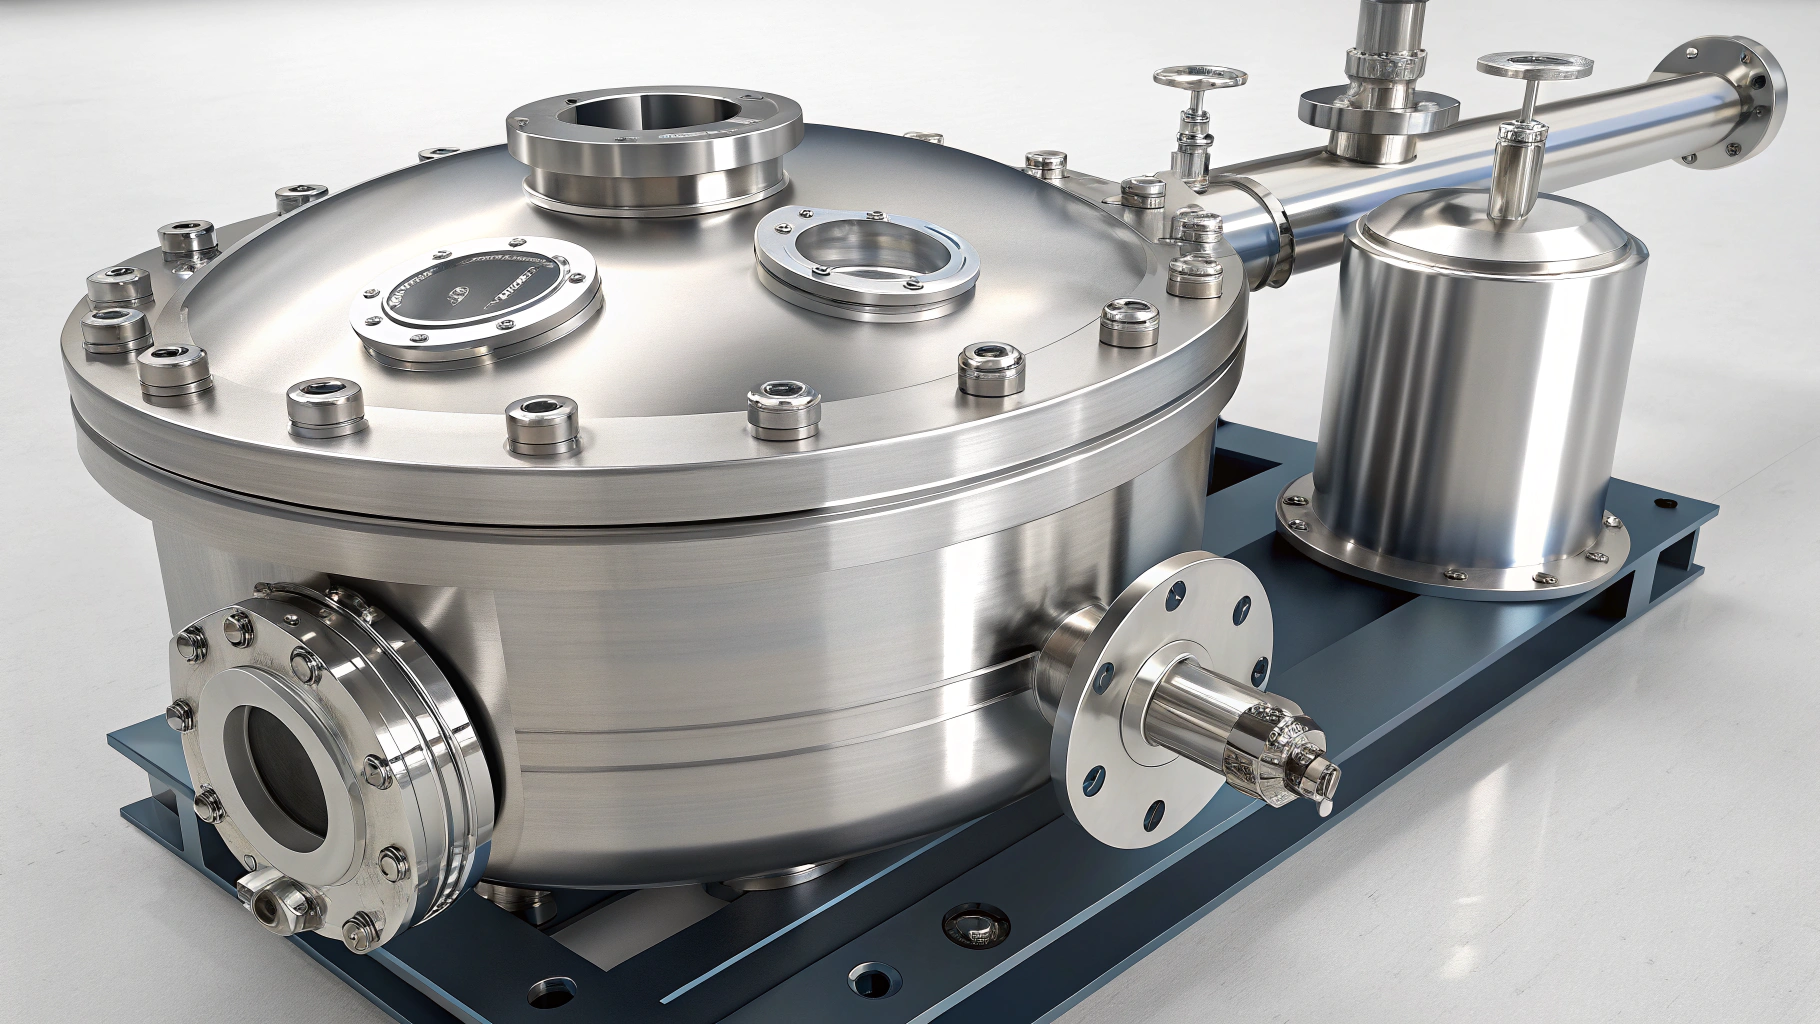
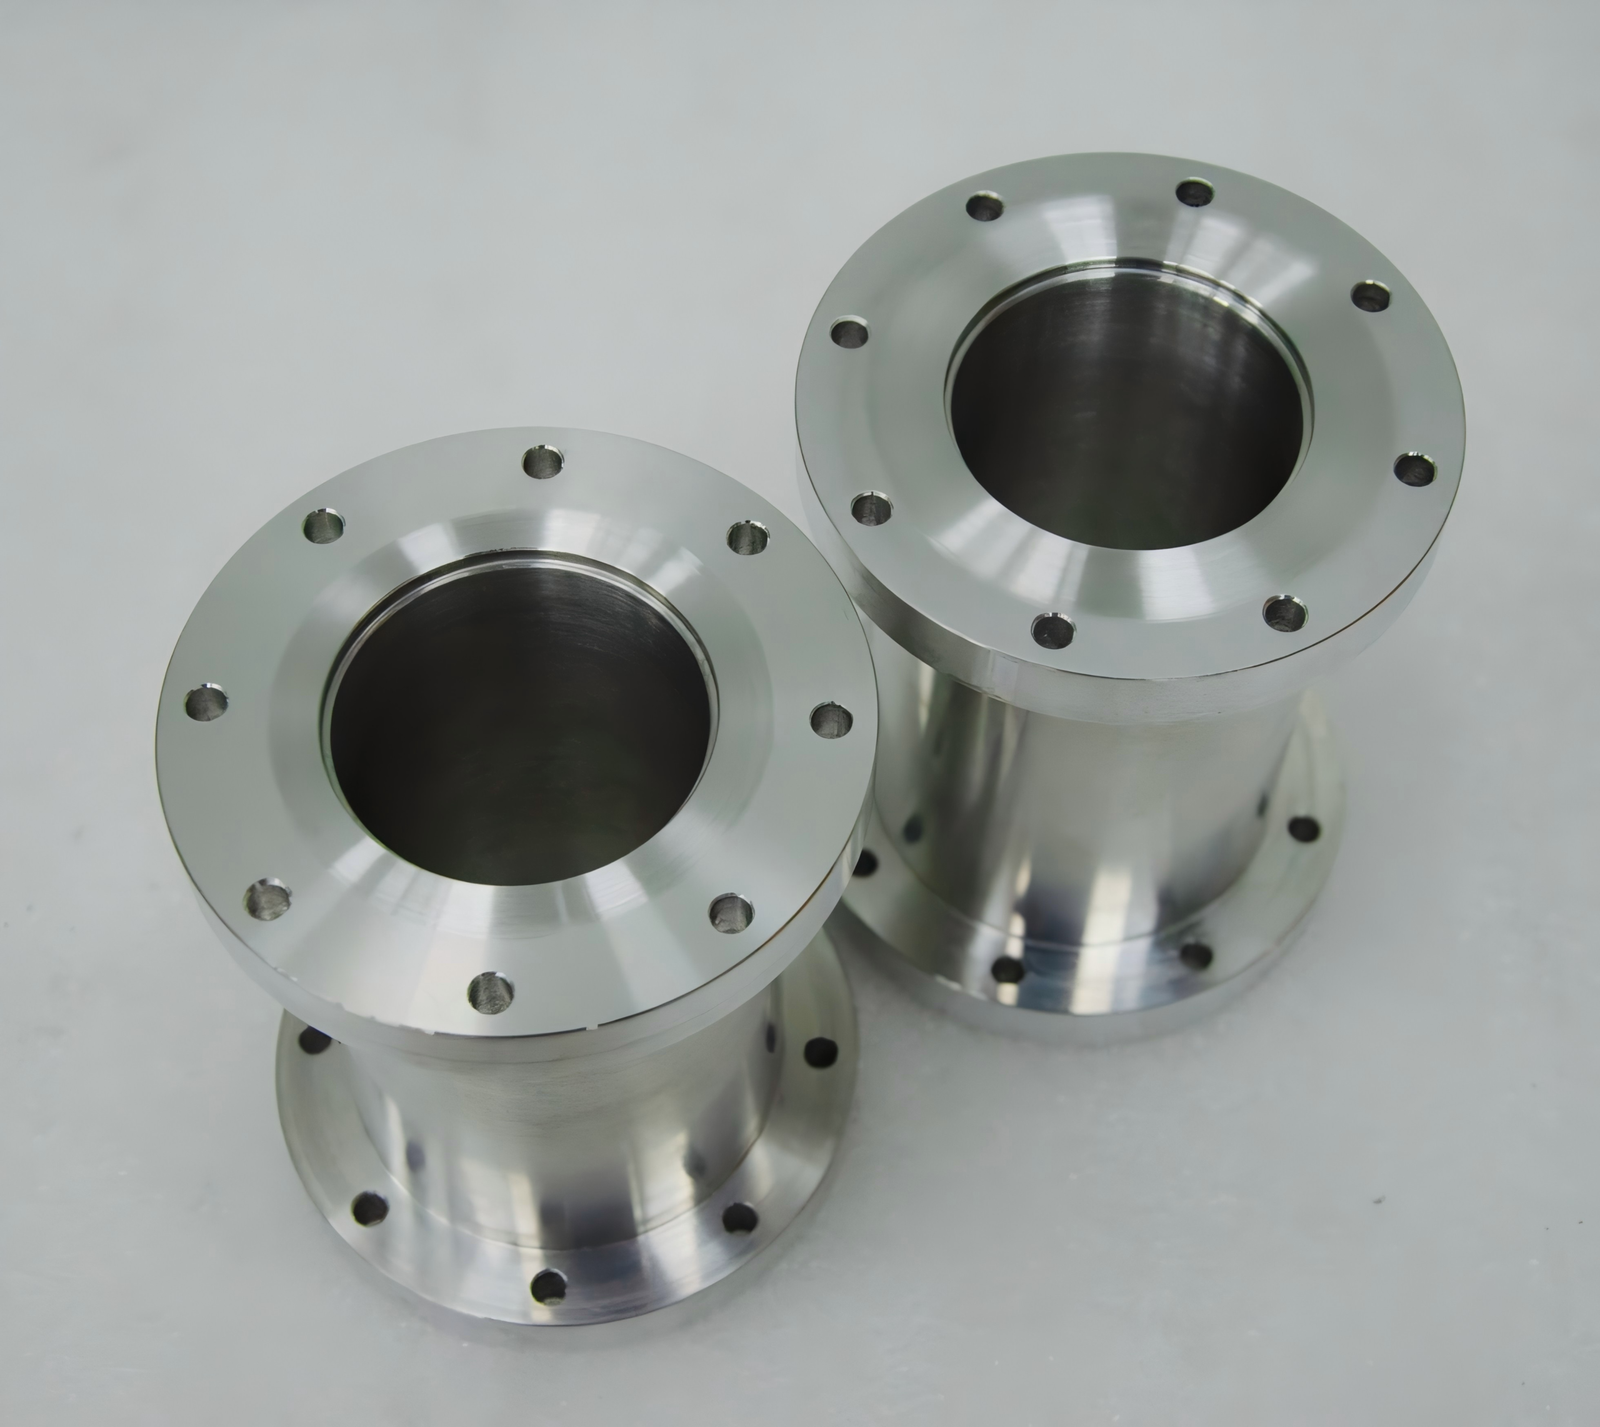
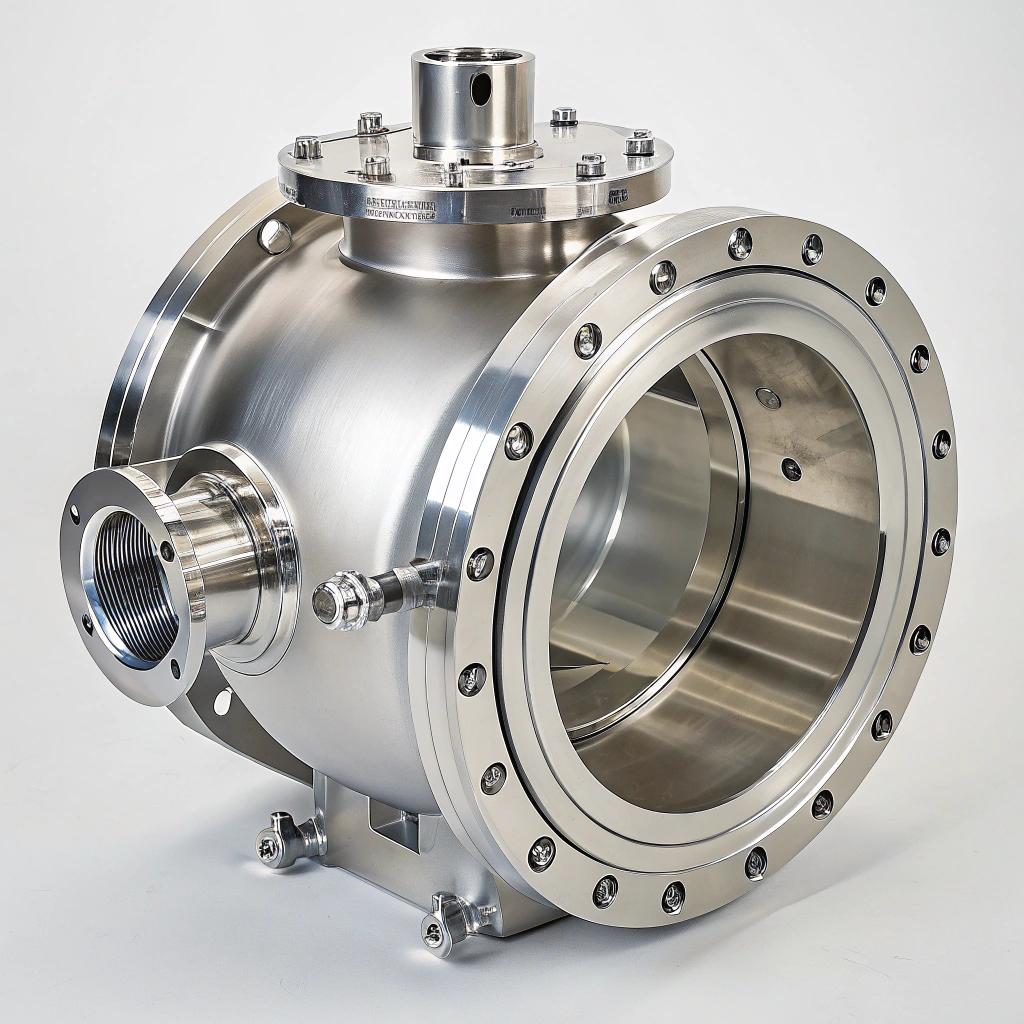
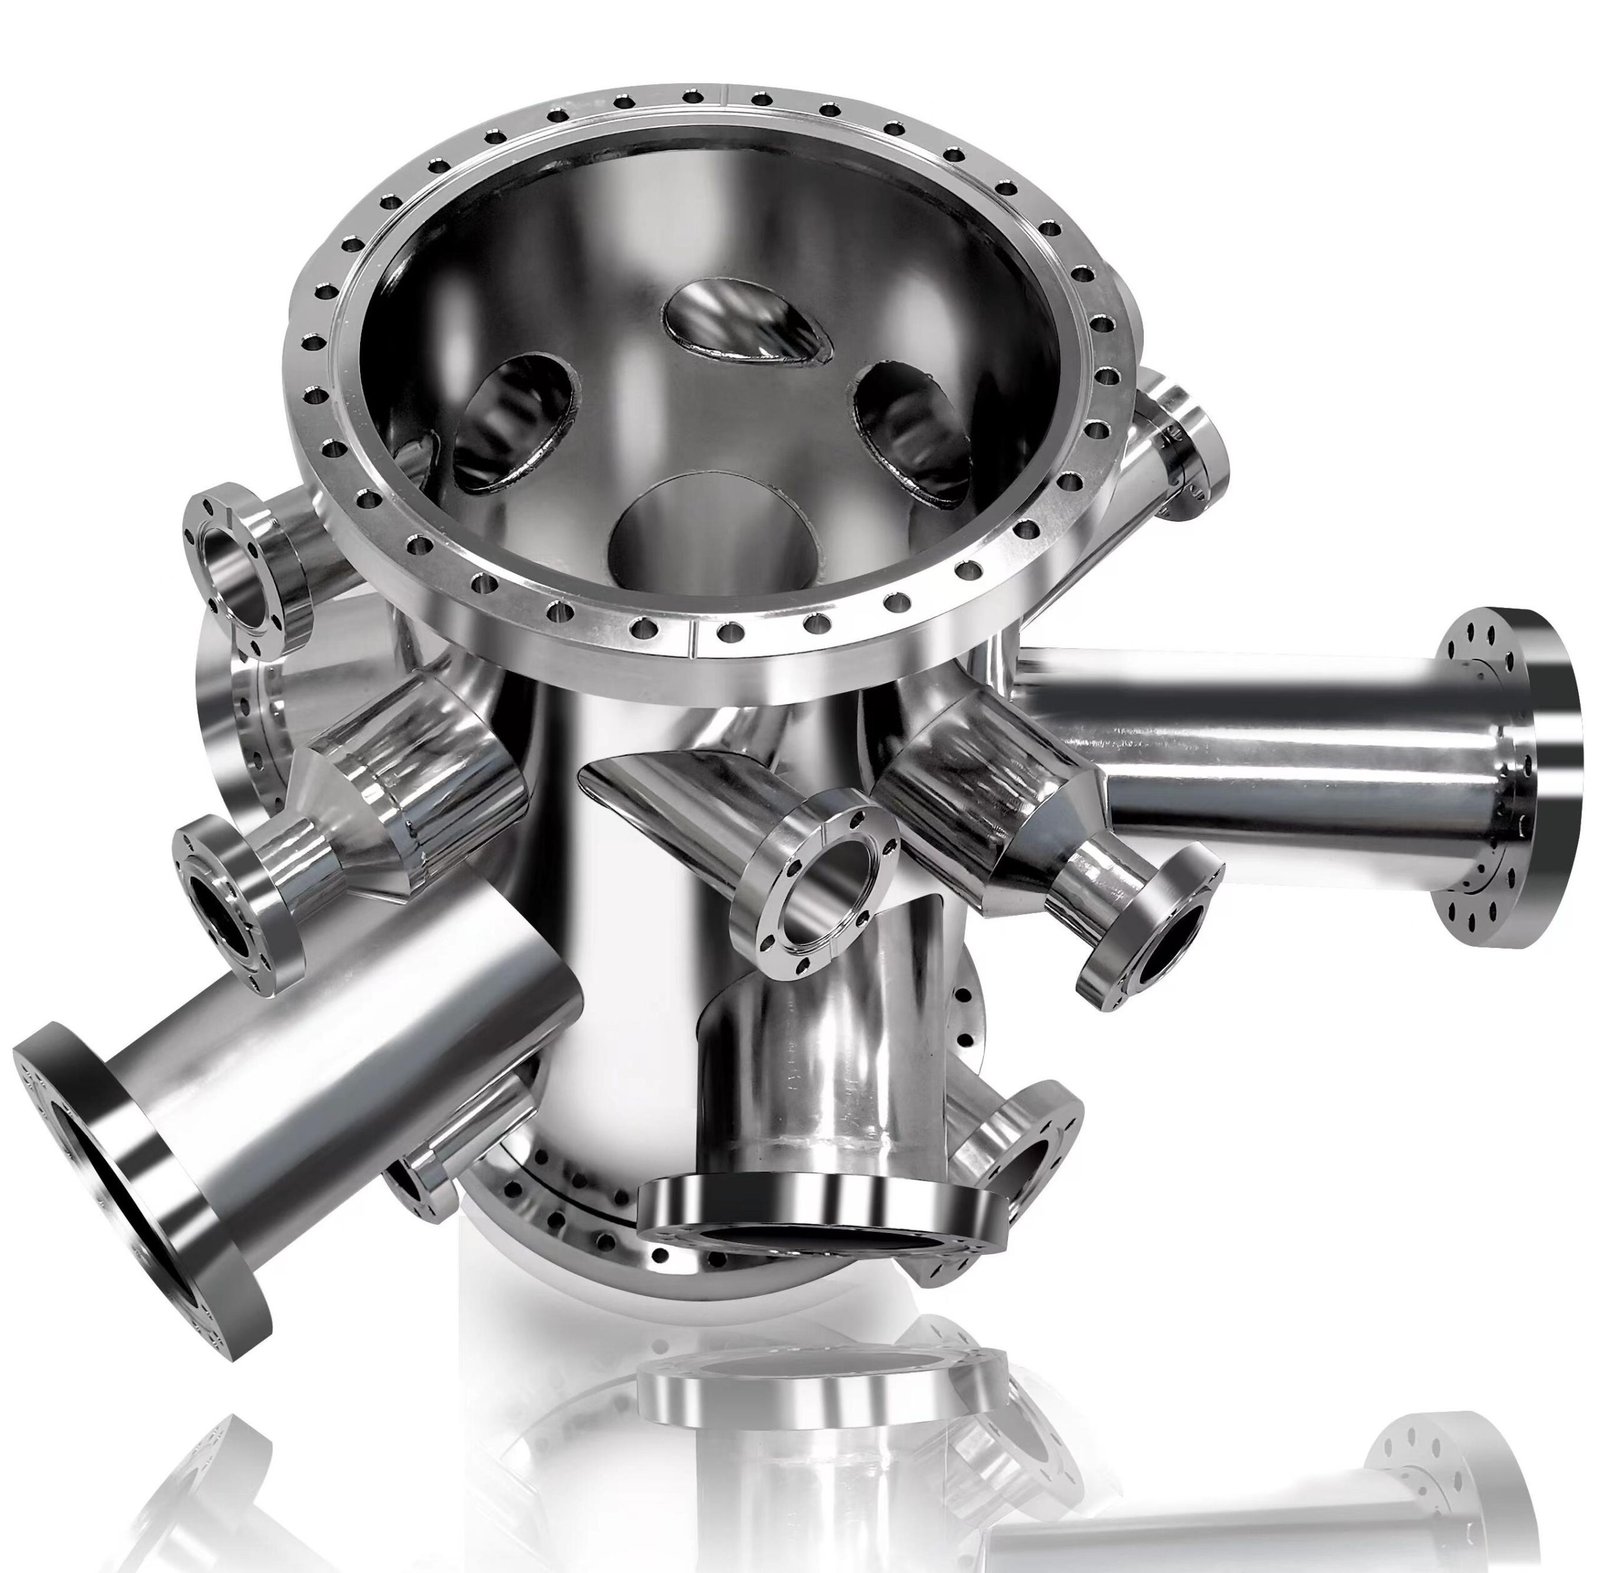
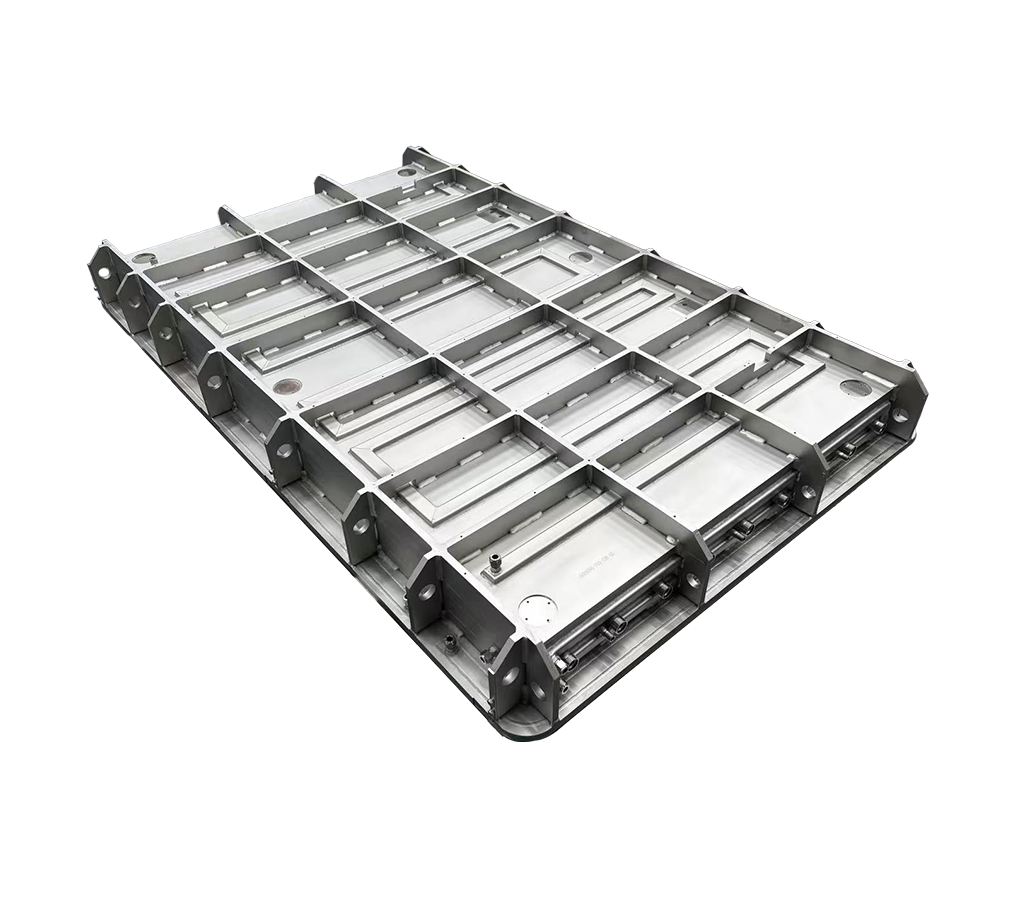
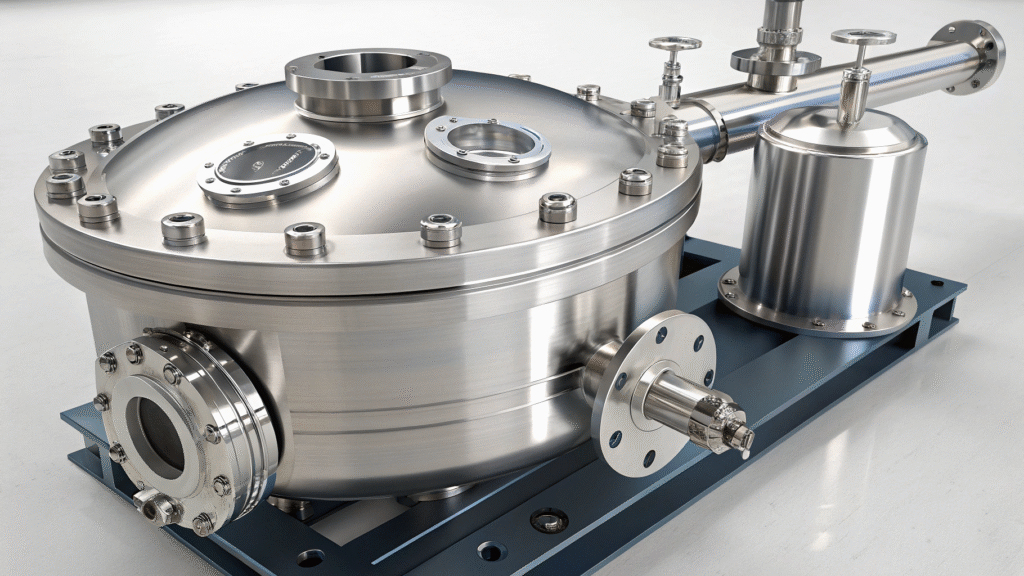
Vacuum work including semiconductor fabs, research labs, coating lines, and many more industrial applications sometimes require large chambers. Despite their size and weight, they contain components that are surprisingly fragile, such as wide flanges, thin shell sections, and machined sealing faces that must remain level in order to maintain a seal.
On a truck, that combination causes issues. Common signs of damage include a warped shell, a dented or cut sealing face, a flange that is no longer true, or a dent. Only one group can hope to avoid it. Everything continues after you leave the factory, including packaging, lifting, transportation planning, and inspection. It continues to operate until the chamber is set up and verified at its final destination.
What causes the damage
In reality, it is usually one of four things, and there is a solution for each of them.
Table 1: Causes and solution of deformation
| Cause | What happens | Countermeasure |
|---|---|---|
| Uneven load distribution | Weight concentrates on a few points, causing local bending, buckling or distortion of the shell | Place supports at engineered locations and spread the load |
| Vibration and shock | Road vibration, hard braking and loading impacts let the chamber shift or strike its packaging | Use engineered restraints and shock and vibration protection |
| Improper lifting and handling | Unsuitable lift points, slings or angles overstress walls and flanges | Follow the manufacturer's approved handling instructions |
| Inadequate packaging and restraint | Poorly fitted cradles, loose fasteners or excessive clamping force distort the chamber | Design the support arrangement for this specific chamber |
A robust crate is no assurance of safety. Even with excellent protection from external forces, the positioning of a chamber within its packaging might cause it to become distorted.
Choosing support points
Support points decide where the chamber's weight goes for the whole trip, so they're worth getting right. Four habits help.
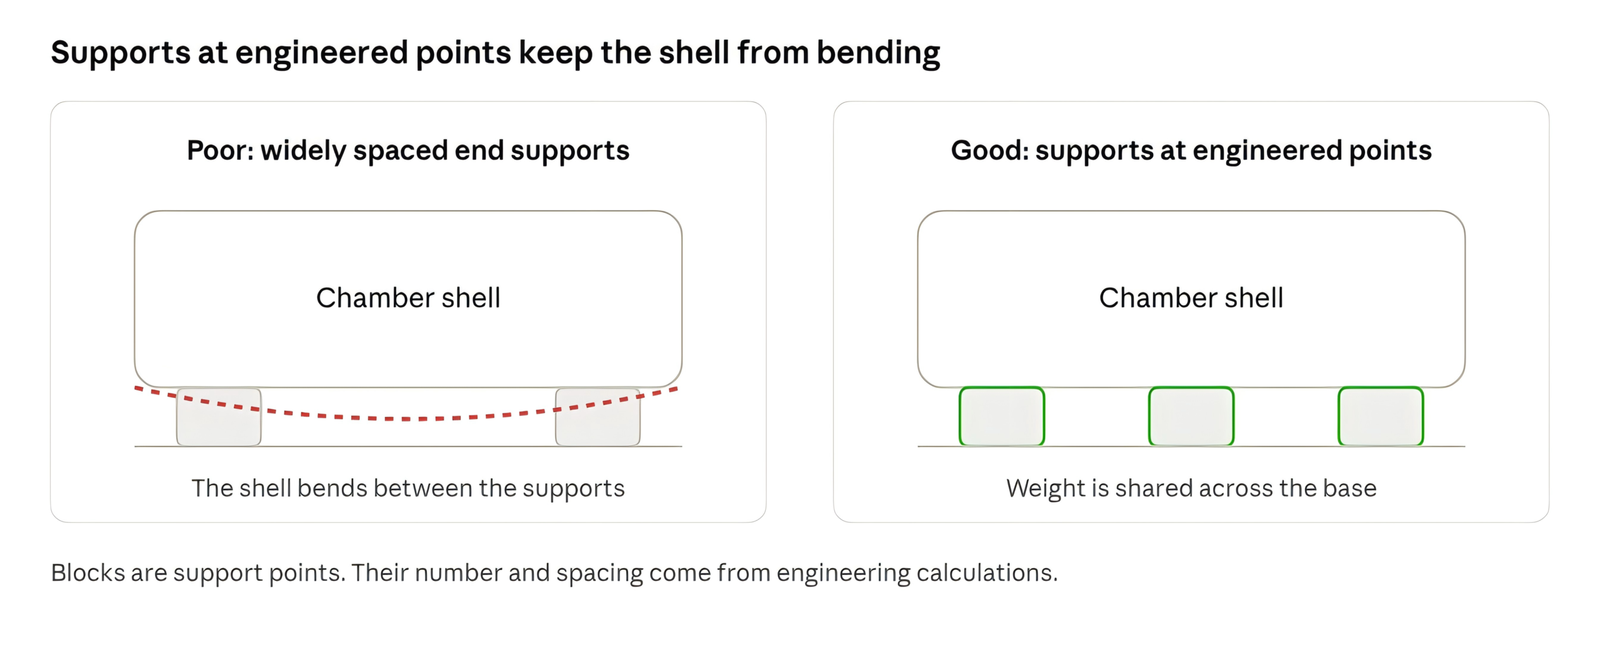
Figure 1: Comparison of good and poor support layout
The span droops in the center when the ends are the only supports. The shell will remain flat if the supports are placed at engineered positions.
Start with the structure. Check out the blueprints, the weight distribution, and the gravity center. As a general rule, you should not place concentrated stresses on thin walls, unsupported panels, sensitive ports, machined flanges, or rest the chamber on reinforced base structures unless the manufacturer gives their OK.
Spread the weight. A structure can distribute weight more evenly if cradles and blocks are strategically placed. Engineering calculations for the geometry of that chamber and its deflection under static and dynamic loads determine how many are needed and where to put them. There is no one-size-fits-all guideline.
Mind the contact material. Preventing scratches and pressure marks, cushioning padding and designed inserts dampen vibration. Also, make sure they are clean enough for your liking; after all, nothing wants to fall onto a surface that is facing the vacuum.
Hold it, don't squeeze it. Movement can be halted by using restraints. Aim for firm rather than maximum torque, as turning them too tightly will distort the shell or harm the mounting features.
Packing and transport habits that help
Pack for this chamber, not for a chamber of roughly this size and weight. A generic crate built to overall dimensions is how problems start.
- Build a rigid base. Use an engineered skid or frame that carries the chamber at approved locations.
- Cover the delicate parts. Protect flanges, sealing surfaces, ports and other precision interfaces.
- Keep moisture and dirt out. Use proper wrapping, desiccant and corrosion protection when needed.
- Label the lift. Mark the center of gravity, lifting points and handling instructions so the crew doesn't have to guess.
- Limit movement. Use engineered restraints plus shock and vibration protection.
- Record everything before it leaves. Take photos and note support locations, restraint layout and baseline measurements.
Measure before it leaves
If a chamber arrives out of spec, someone will ask whether it left that way. A documented inspection before dispatch is the only way to answer.
- Check the shell for dents, visible distortion and surface damage.
- Check flange flatness, alignment and critical dimensions against the approved drawings and tolerances.
- Look over welds, ports, mounting interfaces and sealing surfaces.
- Take measurements with calibrated instruments and photograph the critical areas.
- Keep the report with the shipping paperwork.
Be sure to include leak testing and any other functional inspections requested by the manufacturer in the pre-shipment acceptance process.
Checking again on arrival
A chamber can look perfect and still be off by enough to affect sealing or installation. So the re-inspection repeats the baseline checks in four steps, and the results get judged against the pre-shipment record.
Table 2: Steps to check on shipment arrival
| Step | What to check | Compared against |
|---|---|---|
| 1. Before unpacking | Photograph packaging; look for impact, shifting, crushed supports and damaged restraints; read shock or tilt indicators | Packing and restraint records |
| 2. After unpacking | Dents, scratches, displaced components, a twisted or uneven chamber or frame; flange faces, ports, seals and mounting interfaces | Pre-shipment photographs and inspection report |
| 3. Repeat critical measurements | Flange dimensions, flatness, alignment and other specified tolerances, using methods suited to the chamber's size and geometry | Baseline measurements and approved tolerances |
| 4. Functional integrity | Leak testing and other acceptance tests required by the manufacturer | Manufacturer's acceptance procedure |
If something doesn't match, work out why before installation or hookup. Write down what you find, and get engineering sign-off before accepting a chamber that might be damaged.
If you find deformation
The chamber remains inactive if the delivery measurements deviate from the predetermined baseline and tolerances. It remains uninstalled.
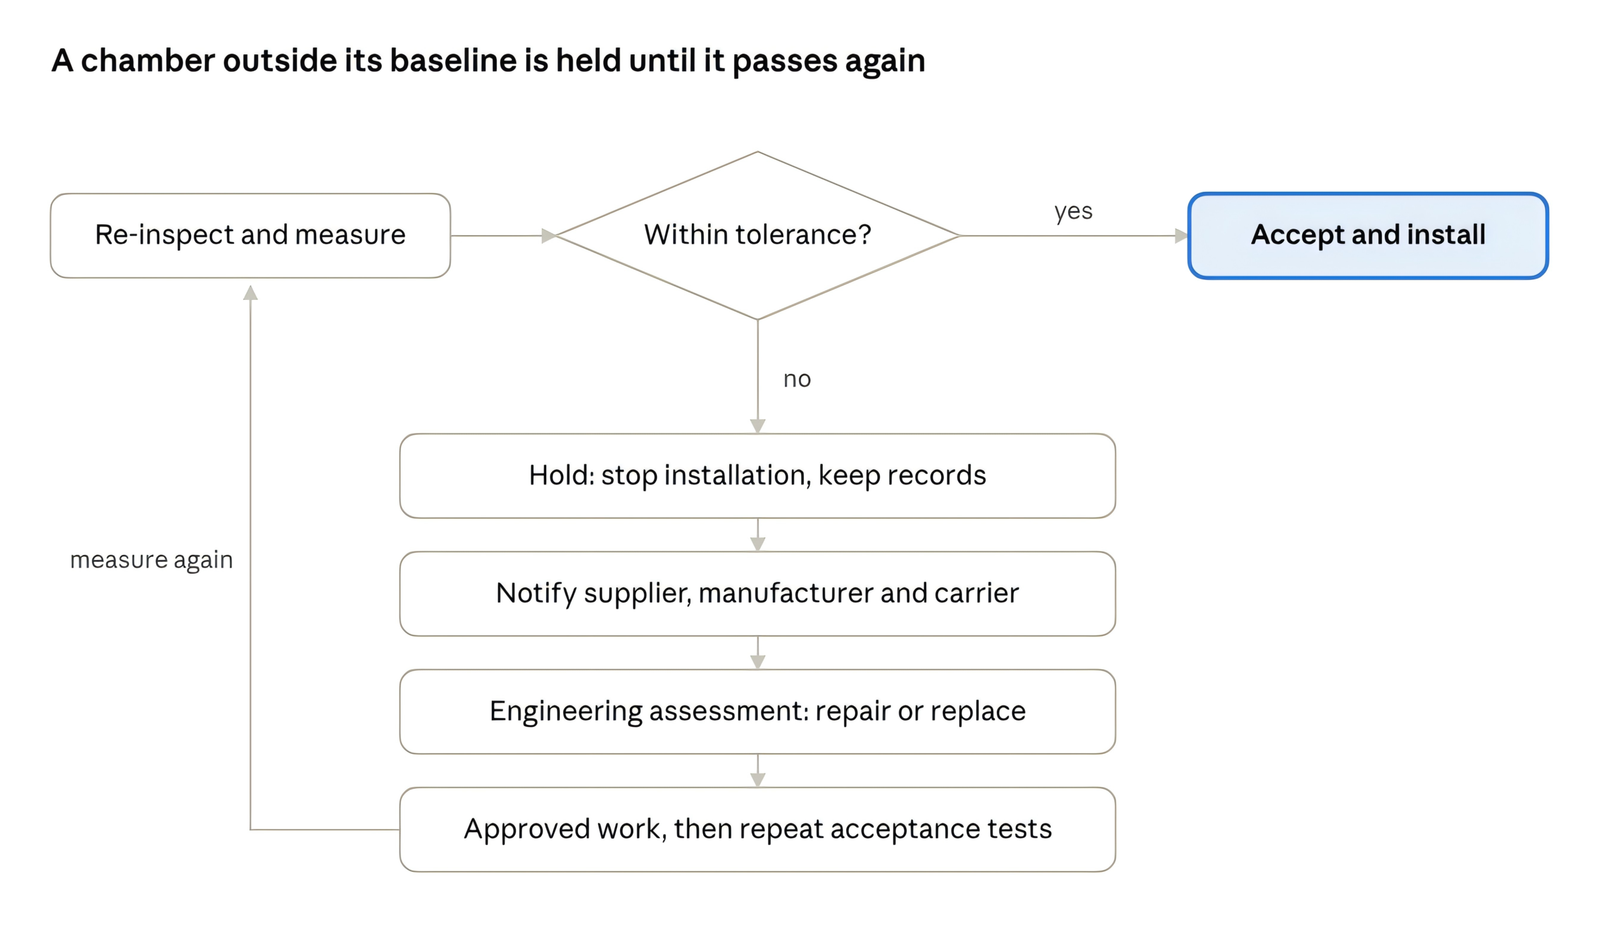
Figure 2: Decision flow - One decision, One loop
Take note of the loop: the chamber is measured against the baseline again following each repair. The installation process is always interrupted.
- Keep in mind the loop: measurement of the chamber versus the baseline is repeated following any repair. Installation is always the last step.
- Do not continue with the installation if the deformation would compromise the vacuum's performance, dimensions, or structural integrity.
- Evaluate your results in light of the baseline and the tolerances that were provided.
- Please inform the supplier, manufacturer, and carrier in accordance with the applicable claims procedure.
- Determine the best course of action—repair, re-machining, or replacement—by consulting an engineer.
- When the authorized fix is implemented, make sure to run the dimensional and functional acceptance tests again.
Stay away from the temptation to straighten, clamp, or re-machine the chamber on your own. Get the maker's or an engineer's stamp of approval before handling it.
Conclusion
Choosing the right support points, distributing the load uniformly, restraining it firmly but not too hard, and recording its condition before shipping are the few methods that boil down to protecting a chamber. Upon arrival, compare the actual measurements to the pre-shipment record and allowable tolerances. Finding the problem requires more than just looking at it.
If you do that often, you can reduce the likelihood of costly damage, installation delays, vacuum leaks, and disputes over transportation responsibilities.