
Vacuum chamber leak testing allows you to determine that a sealed part does not leak gas. The approach involves placing the part being tested in a vacuum chamber and employing a tracer gas, usually helium, to detect very small leaks that cannot be detected by other testing techniques. This article explains the complete step-by-step process of how the method works and how each stage contributes to accurate leak detection.
What Is Vacuum Chamber Leak Testing?
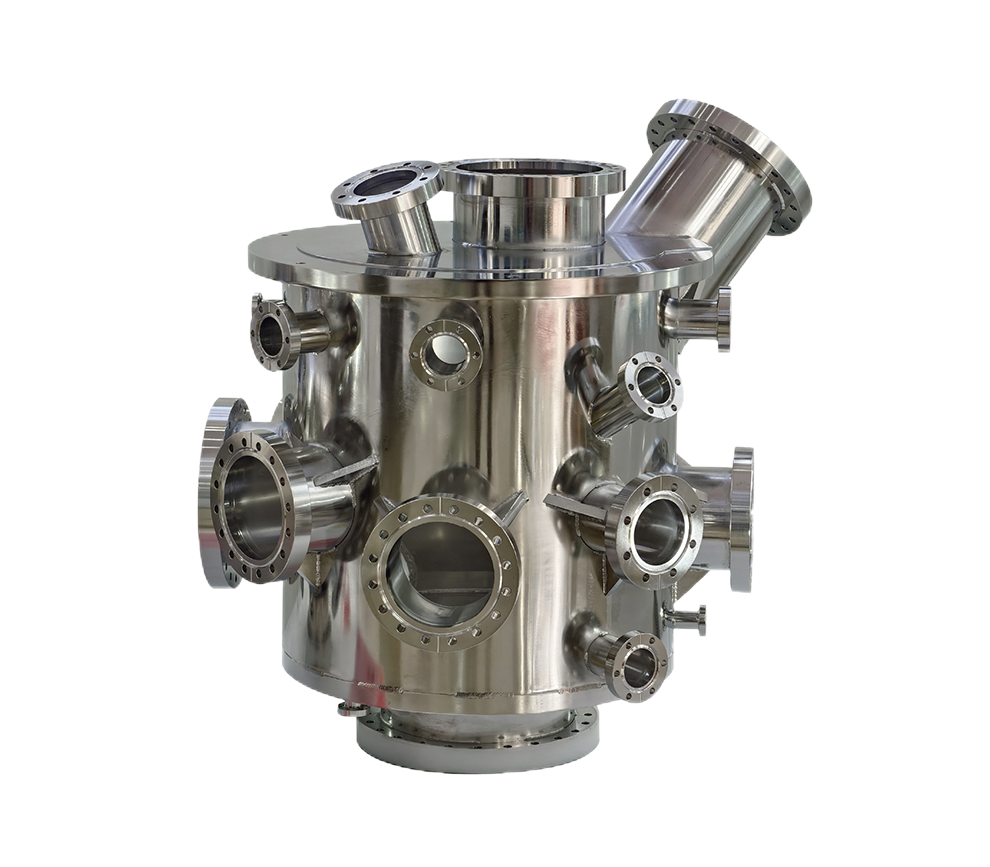
Vacuum chamber leak testing is conducted in a vacuum chamber to provide controlled test conditions around the part. The part may be pressurized, with the chamber evacuated, or the test may be set up in another configuration to detect movement of helium through a leak path.
Steps to Perform Vacuum Chamber Leak Testing
Step 1: Prepare the Test Part
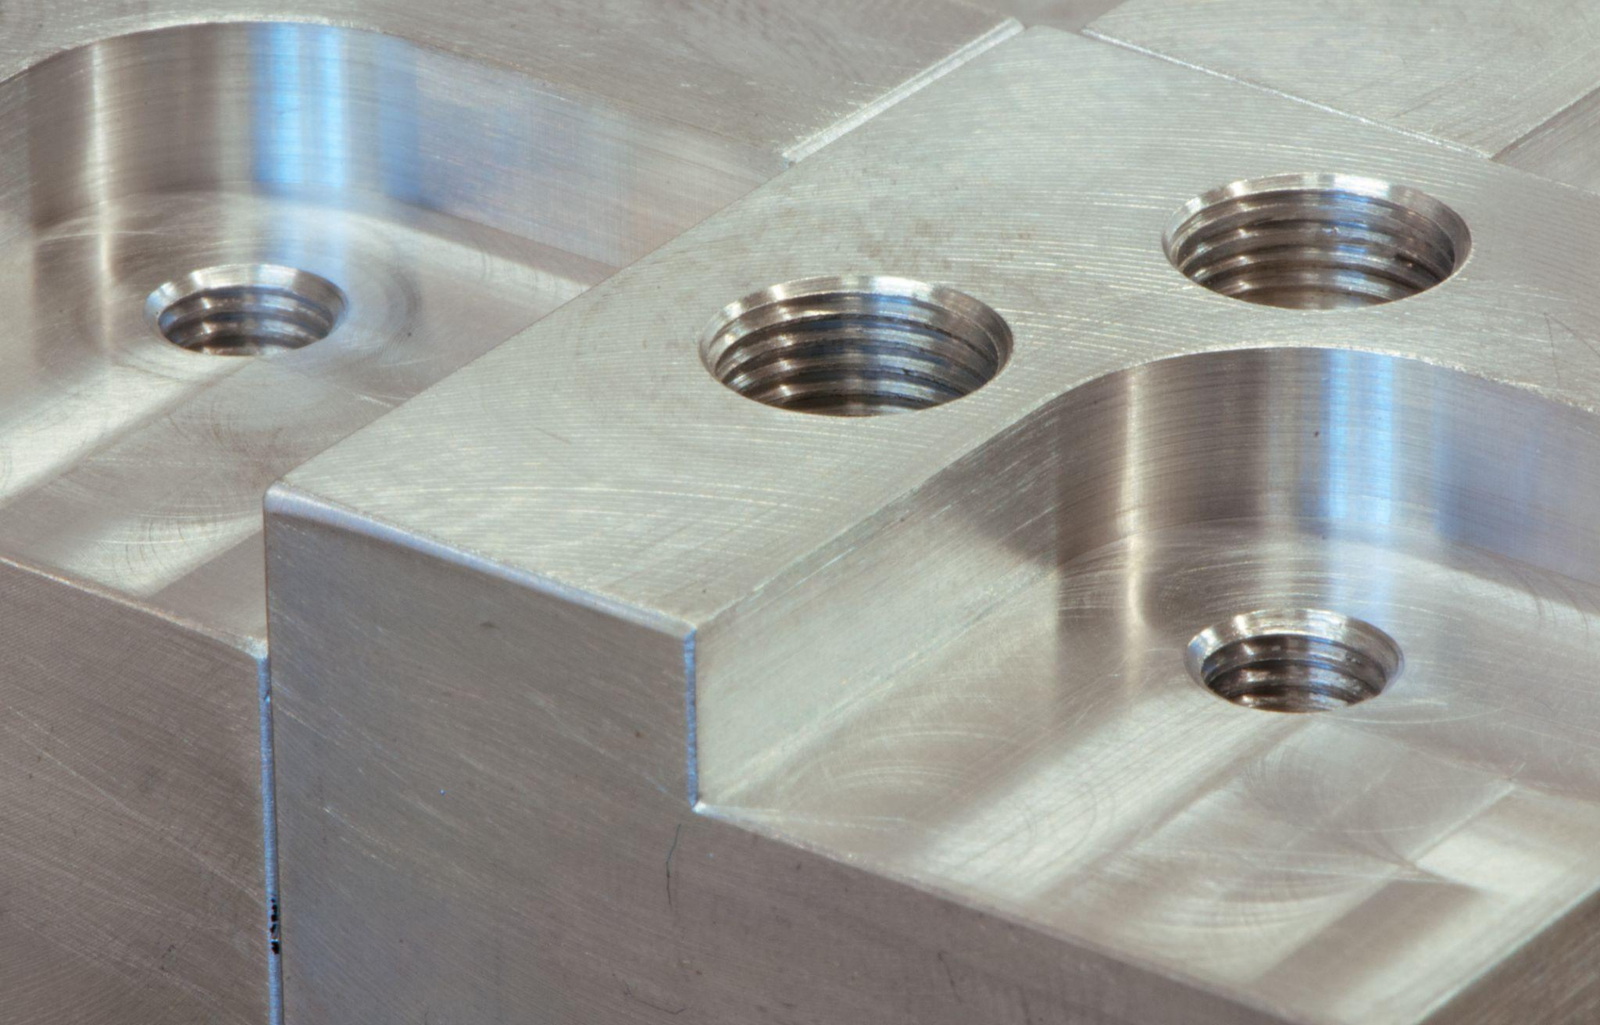
Visually check for any damage and make sure that all ports, fittings, and seals are installed prior to testing. Clean away dirt, grease, moisture, etc., that may interfere with the accuracy of the test.
Step 2: Place the Part Inside the Vacuum Chamber
Place the component in the vacuum chamber and seal the chamber. The chamber should be airtight to avoid the influence of the external air on the measurement.
Step 3: Connect the Tracer Gas Supply
Add the tracer gas (Helium or other approved gas) to the test part at the correct pressure. Helium is commonly used because it is a very innocuous gas and is very rare in the atmosphere; even if there is a small leak, it is easy to detect.
Step 4: Evacuate the Vacuum Chamber
By pumping the air out of the chamber, the vacuum will cause the pressure inside the part to be different from the pressure inside the chamber. The helium will bleed out of any leaks present due to this pressure difference.
Step 5: Detect Escaping Helium
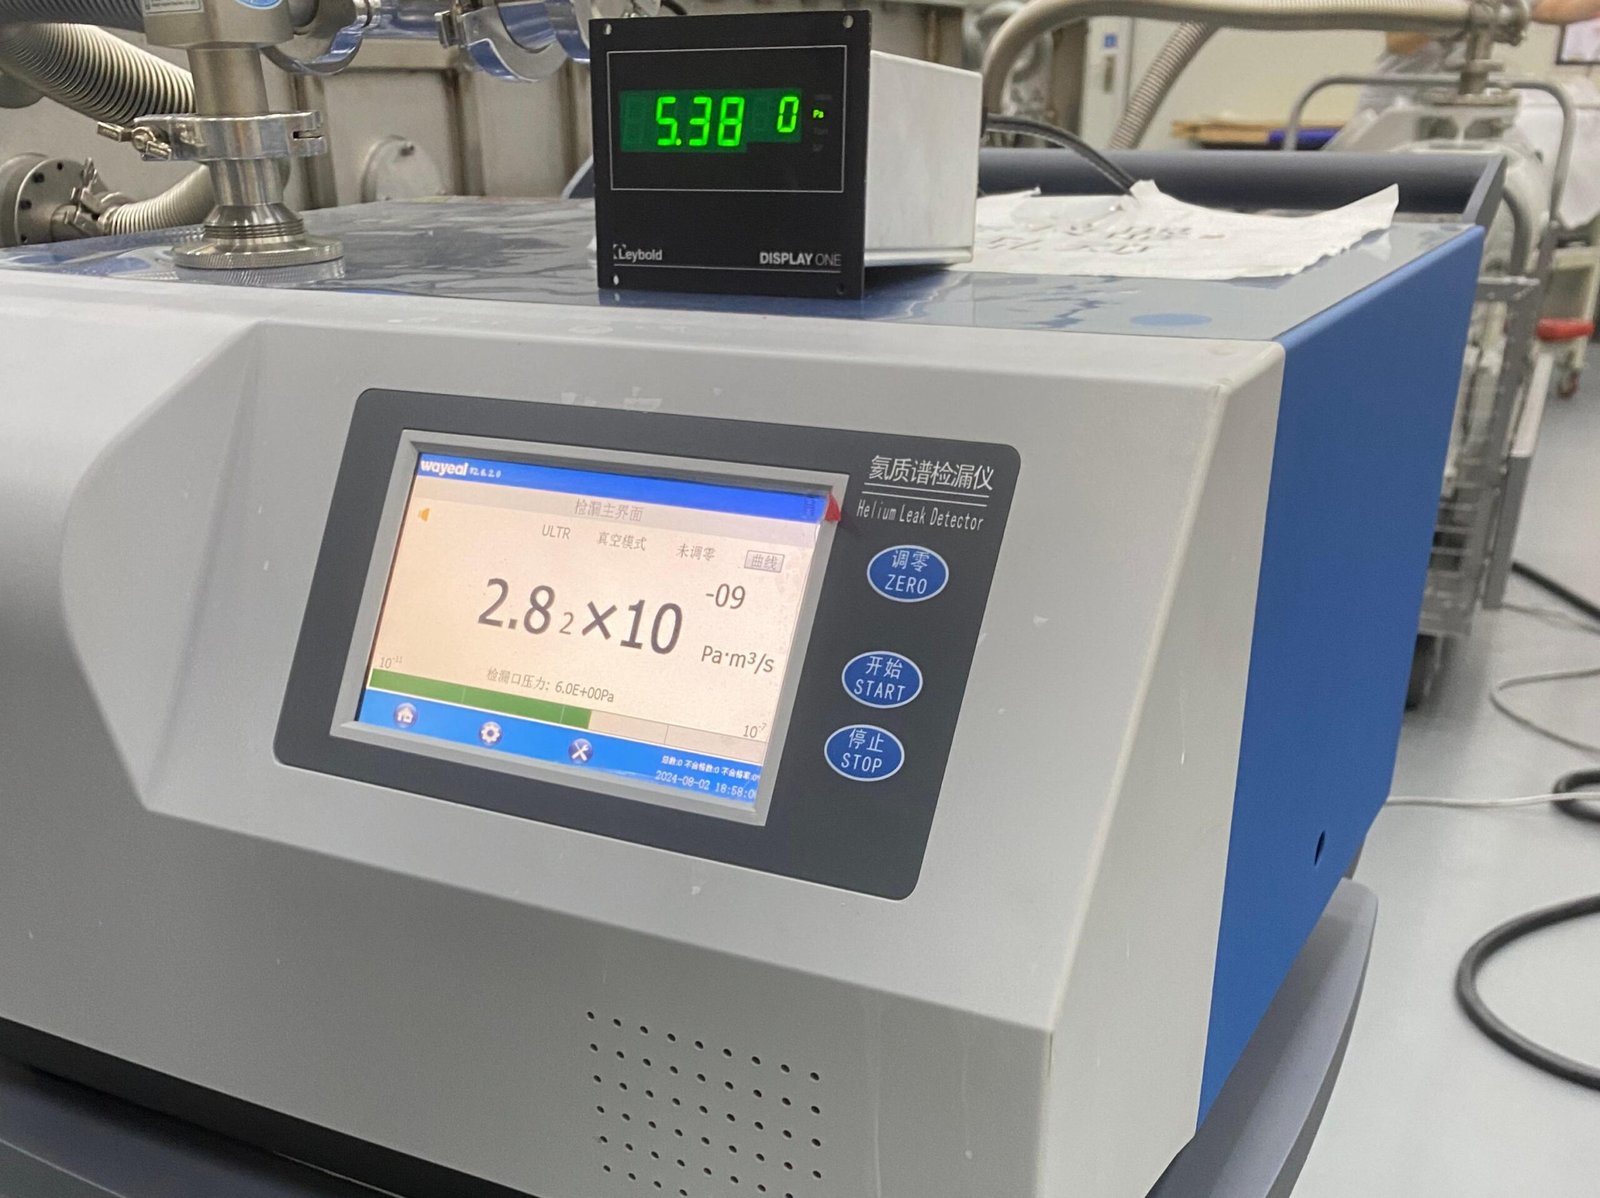
A mass spectrometer of helium is used continuously to analyse the atmosphere in the chamber. If helium is lost from the part, the detector is able to detect the amount of helium and determine the leak rate. The greater the concentration of helium, the bigger the leak.
Step 6: Compare the Leak Rate to Acceptance Limits
Compare the measured leak rate with the specified acceptance limit. If the measured leak rate is equal to or lower than the allowable limit, the component passes the test. If the leak rate exceeds the specified limit, the component fails inspection and should be repaired, reworked, or rejected according to your quality requirements.
Step 7: Vent the Chamber and Remove the Part
After testing, let the chamber go back to atmospheric pressure and extract the component. Note down the leak rate and test results for quality control and traceability.
Why Vacuum Chamber Leak Testing Is So Accurate
Because it provides a controlled environment for testing, the vacuum chamber leak testing offers increased sensitivity compared to many conventional leak testing methods. The system eliminates many external factors that can impact the accuracy of the measurement by removing the air in the chamber, and even microscopic leaks can be detected.
Controlled Test Environment
The vacuum chamber separates the test part from the air. This reduces background contamination and eliminates the effects the environment can have on the measurement of small leaks.
High-Sensitivity Helium Detection
Helium is used as the tracer gas because it is chemically inert, non-toxic and occurs in very low concentrations in the atmosphere. A helium mass spectrometer will identify very small amounts of escaping helium, allowing you to find leaks that other leak detection methods can't find.
Complete Leak Capture
If the chamber is under vacuum, helium that escapes from the pressurized component will be pulled into the chamber rather than into the surrounding air. This allows the leak detector to collect almost 100 percent of the tracer gas that is leaking, which increases the accuracy of the measurement.
Repeatable Test Results
Vacuum chamber leak testing involves controlling pressure, vacuum levels, and test conditions for each inspection. This uniformity minimizes the variability of measurements and ensures consistency between different production runs.
Quantifiable Leak Rates
This is not a pass-or-fail indicator but rather a true leak-rate indicator. You can then compare the measured value against your acceptance criteria to ensure the component complies with quality and regulatory requirements.
Suitable for High-Reliability Components
Industries like aerospace, automotive, medical device making, electronics, and refrigeration require leak testing with a vacuum chamber to ensure the integrity of components where even minute leaks could impact safety, performance, or product life.
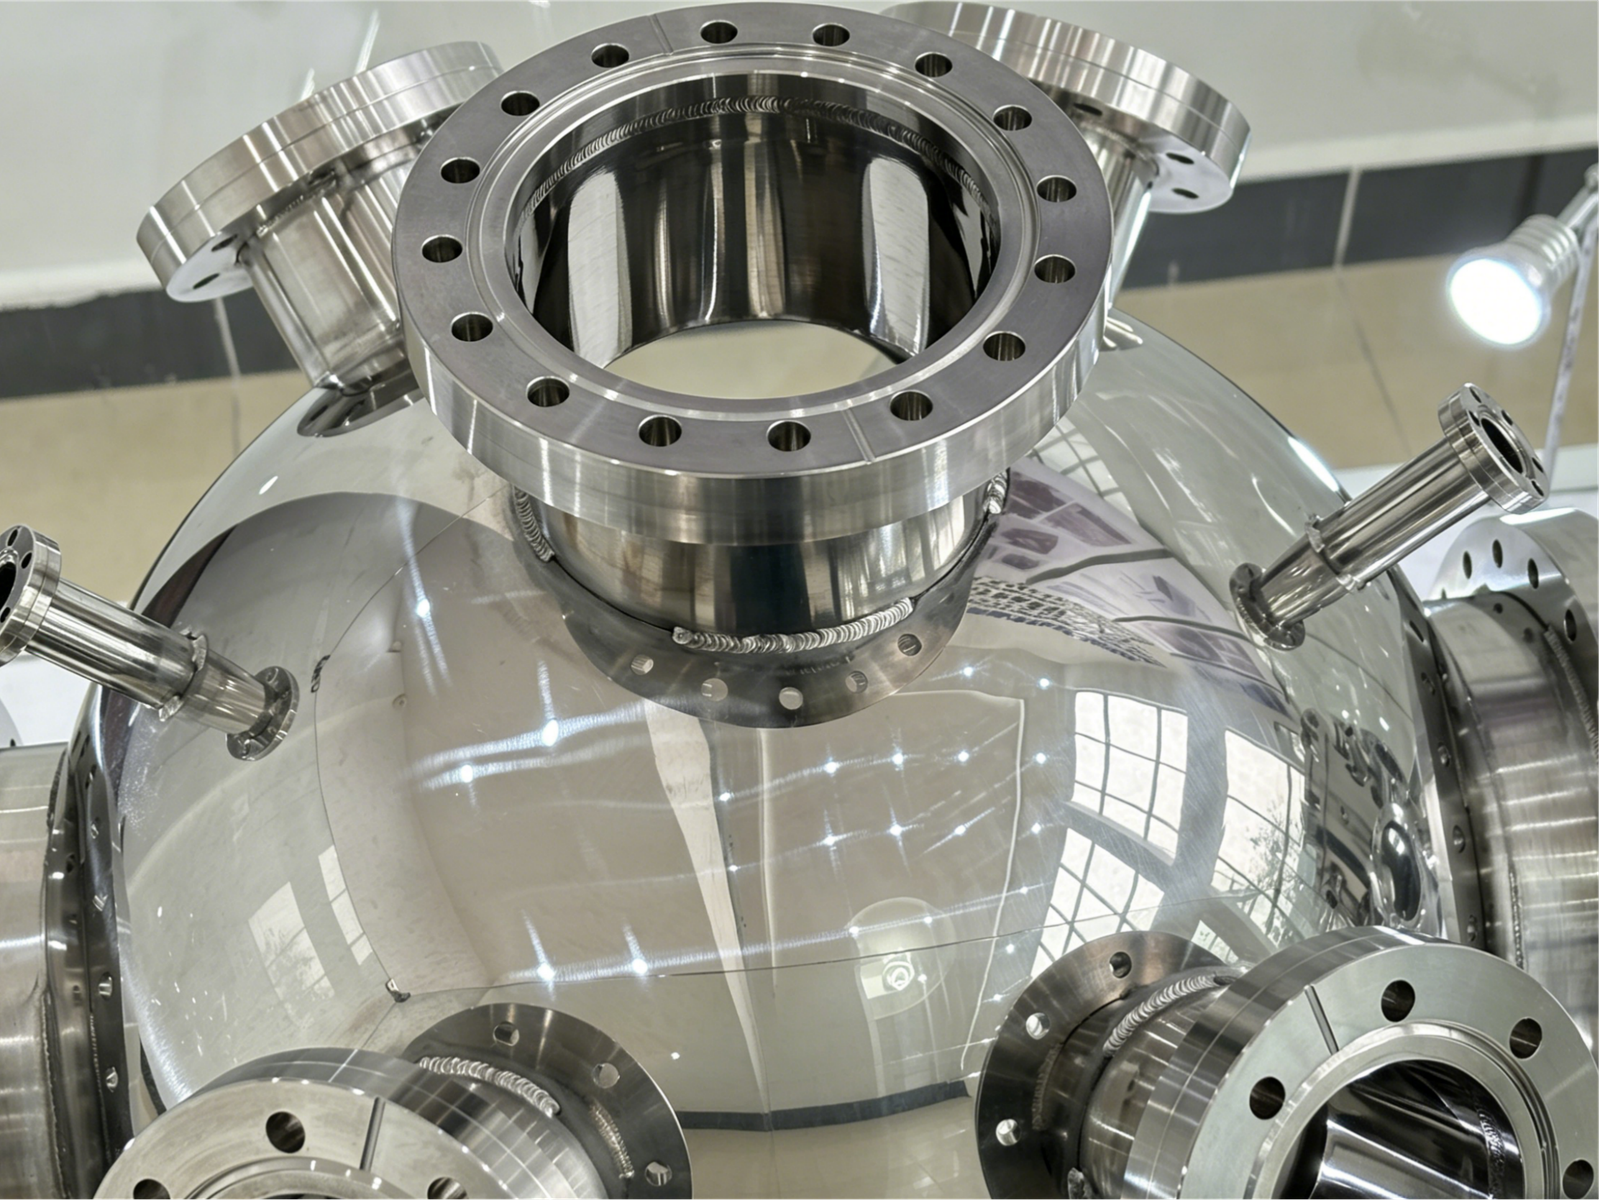
How to Leak Check Large Vacuum Chambers
Leak checking a large vacuum chamber begins with knowledge of how the chamber responds to pump-down. If the chamber does not achieve the desired vacuum as quickly as required, the problem could be due either to too much outgassing or to a real leak. To differentiate them, attach a helium leak detector to the vacuum system during the chamber's vacuum operation.
Add helium to external welds, flanges, feedthroughs, valves, etc., where there may be a leak point. If the helium leaks into the chamber, the detector will measure the amount of the leak and report the leak rate. A high vacuum pump, such as a turbomolecular pump or diffusion pump, is generally employed in large vacuum systems, which are followed by a roots blower and a mechanical pump.
This setup provides better response time and provides an efficient removal of the helium after testing, so that you can locate leaks quickly and resume normal operation with a minimum of downtime.
Common Applications
You can use vacuum chamber leak testing for components that require high leak-tightness, including:
- Automotive fuel system components
- Electric vehicle battery enclosures
- Medical devices
- Aerospace components
- Refrigeration and HVAC parts
- Vacuum vessels
- Heat exchangers
- Industrial valves and fittings
Best Practices
To achieve reliable results:
- Calibrate the leak detector regularly.
- Use clean, dry helium with the correct test pressure.
- Verify that the chamber seals are leak-free.
- Maintain consistent vacuum levels throughout testing.
- Follow documented acceptance criteria for every product.
When Vacuum Chamber Testing Is the Best Fit
- Testing of high-integrity sealed components such as batteries, aerospace, medical devices, and fuel systems.
- For situations where tight, measurable leak rate requirements must be met.
- For extremely small leaks that other detection methods (bubble test, pressure decay, ultrasonic) are unable to detect.
- When you need to test quickly and repeatedly in large quantities.
- When there is a multi-seal or complex assembly, a full system test is required in one cycle.
- If the test results are required for shipping or final assembly, and it is not a destructive test.
- If consistent, repeatable results across batches are key to quality control.
It is widely accepted that it is used where product quality and safety requirements, refrigerant containment, and/or warranty performance are reliant on dependable product leak detection.
Key Specification Factors for Vacuum Chamber Leak Testing: Leak Rate, Chamber Size, and Cycle Time

-
Leak Rate
- Defines the maximum allowable gas leakage from a component.
- Usually expressed in units like mbar·L/s or Pa·m³/s.
- Determines the sensitivity requirement of the test system.
- Lower allowable leak rate requires higher detector sensitivity (typically helium mass spectrometry).
-
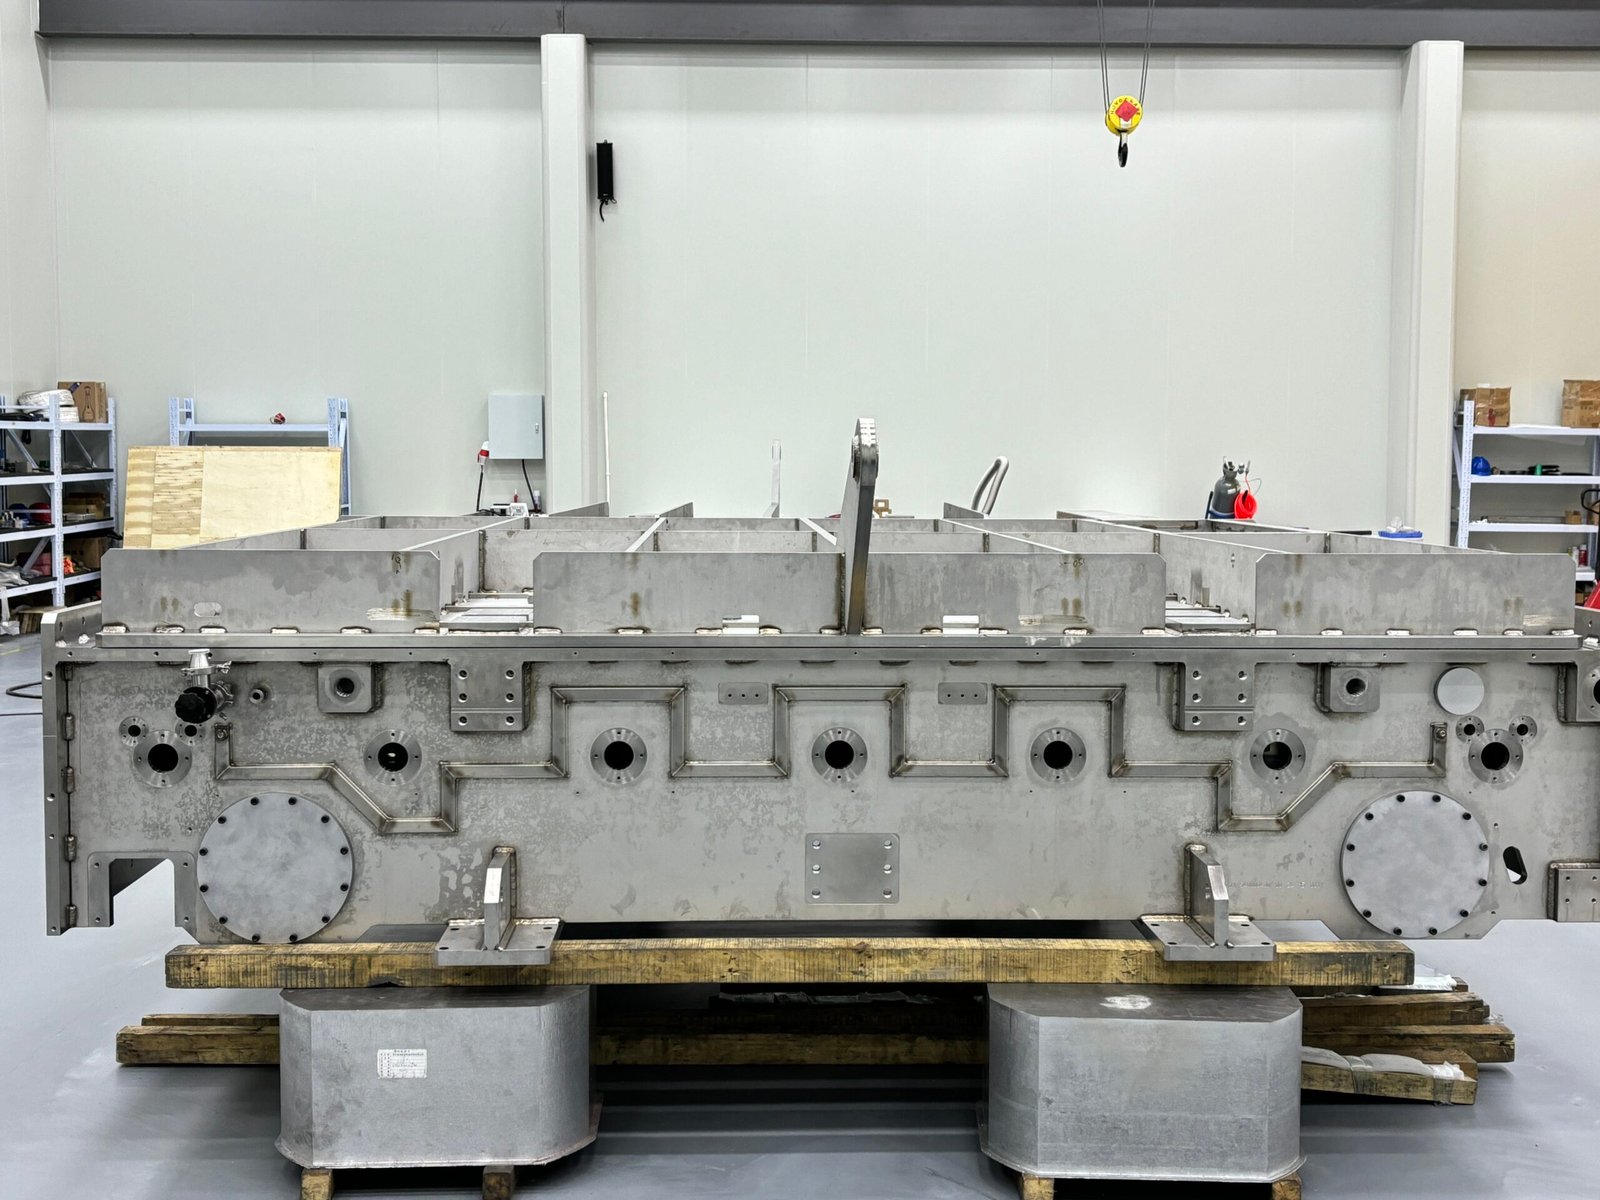
Chamber Size
- Must accommodate the full size of the part or assembly under test.
- Directly affects pump-down time and helium evacuation efficiency.
- Larger chambers require higher pumping capacity to maintain test speed and stability.
- Proper sizing ensures uniform vacuum distribution around the part.
-
Cycle Time
- Total time required to complete one full test cycle (load → evacuate → test → vent → unload).
- Impacts production throughput and cost efficiency.
- Influenced by chamber volume, pump performance, and leak detection response time.
- Optimized by balancing sensitivity requirements with manufacturing speed.
Conclusion
Vacuum chamber leak testing provides a controlled and very sensitive test for verification of sealed components. A combination of a vacuum environment with tracer gas detection will help detect even minute leaks that are not usually found with other methods. This process is repeatable, measurable, and can be used on high-tech manufacturing facilities and high-volume production lines.
You minimize the chance of product failure, enhance quality assurance, and meet rigorous industry standards when you follow a systematic testing process, from the right part preparation to the right leak rate analysis.
Speak to Laiku when you need consistent and reliable leak testing for your components. Select a vacuum chamber leak testing system for the leak rate, the chamber size, and the cycle time that you need. Proper investment in the production system for efficiency and reduction in rework, and also for long-term product reliability.